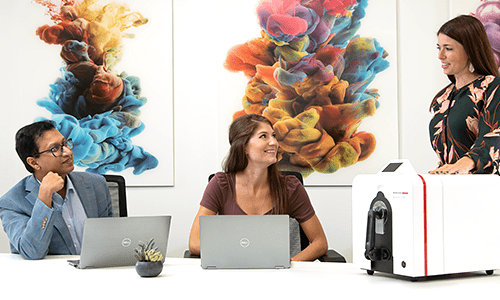
Customers We Serve
Our world is full of vibrant colors, and the accuracy of these colors is invaluable to many industries. Since 1970, Datacolor’s color management tools and software have helped color experts around the world get color right.
Here is a sample of industries we serve.
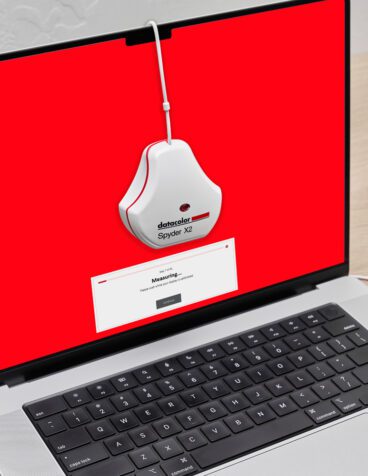
Trusted By
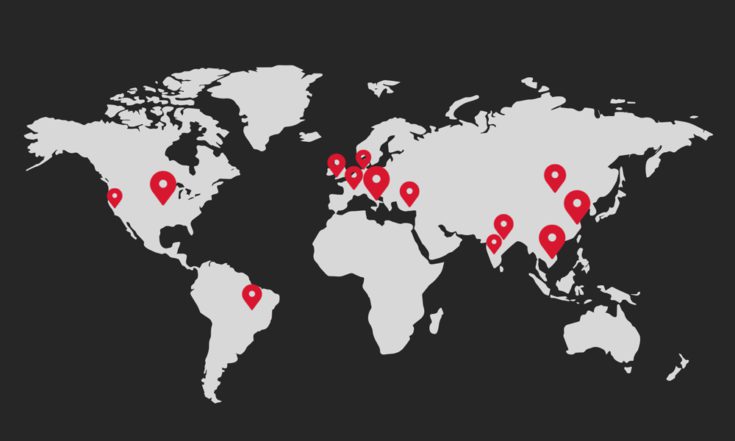
Our Locations
With offices across the globe, we offer the critical direct support our customers need to get color right. Explore All Locations